Android Enterprise - Google account registration guide

Step-by-step instructions for creating a Google account for Android Enterprise
This guide provides a clear, step-by-step walkthrough on how to create a dedicated Google account for Android Enterprise (AE). This account will later be used to bind your EMM to Android Enterprise.
Step-by-Step Registration Guide
1. Start the Google Account Creation
- Open your preferred web browser.
- Navigate to:
https://accounts.google.com/SignUp?hl=en
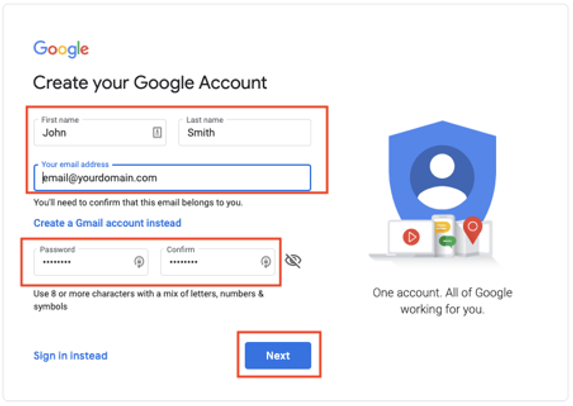
2. Enter Your Account Details
- Fill in your First Name, Last Name, and Email Address.
- Click “Use my current email address instead”.
- Recommended: Use a generic corporate email address for this Android Enterprise admin account.
- Example:
Google.AE@yourdomain.com - This could be a shared mailbox or distribution group.
- Example:
- Create a password, then click Next.
3. Verify Your Email Address
- Google will send a verification code to the email address you entered.
- Enter this code and click Verify.
4. Verify Your Phone Number
- Enter your mobile phone number, then click Next.
- A verification code will be sent to your device. Enter it and click Verify.
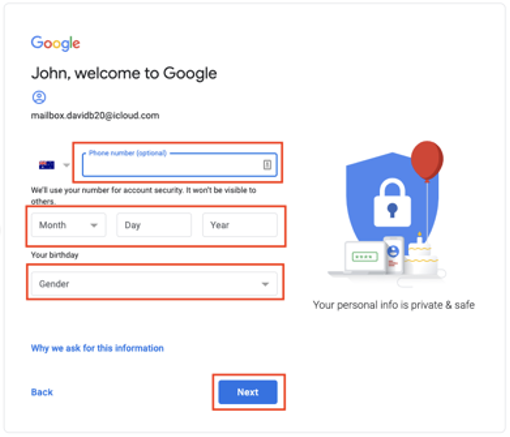
5. Provide Personal Information
- Enter your Phone Number, Birthday, and Gender, then click Next.
- Note: The phone number will be used for two-factor authentication (2FA) for this account going forward.
6. Skip Optional Features
- When prompted with “Get more from your number”, click Skip.
7. Accept Google’s Privacy & Terms
- Review the policies.
- Scroll to the bottom of the page to enable the I Agree button.
- Click I Agree to proceed.
Completion
Your Google account setup is now complete.
You can now use this account to bind your Enterprise Mobility Management (EMM) platform with Android Enterprise.